Remote IoT Monitoring With Raspberry Pi: The Ultimate Guide
Imagine this: You’re sitting comfortably at home, sipping your coffee, while simultaneously monitoring the temperature of your greenhouse, the water level in your fish tank, or even the security of your front door—all from your smartphone. Sounds futuristic, right? Well, it’s not. Thanks to remote IoT monitoring with Raspberry Pi, you can achieve all this and more without breaking a sweat.
Remote IoT monitoring is basically the process of keeping tabs on various devices or systems remotely using the Internet of Things (IoT). And guess what? The Raspberry Pi, that little powerhouse of a computer, makes it super easy to set up your own remote monitoring system. Whether you’re a tech enthusiast, a farmer looking to automate your operations, or just someone who wants to keep an eye on things from afar, this guide’s got you covered.
In this article, we’re diving deep into the world of remote IoT monitoring with Raspberry Pi. From setting up your hardware and software to troubleshooting common issues, we’ll walk you through every step. So, grab your Raspberry Pi, roll up your sleeves, and let’s get started!
Read also:Unveiling The Feathered Mystery Was Dilophosaurus Cloaked In Feathers
What is Remote IoT Monitoring and Why Should You Care?
Let’s break it down, shall we? Remote IoT monitoring is all about collecting data from sensors or devices located anywhere in the world and sending that data to a central system that you can access remotely. Think of it like having a personal assistant who keeps you updated on everything that’s happening, but without the coffee breaks.
Here’s why you should care:
- Efficiency: No more running around to check on things manually. Save time and energy by monitoring everything from one place.
- Cost-Effective: Setting up a remote monitoring system with Raspberry Pi is way cheaper than buying expensive commercial solutions.
- Customizable: You can tailor your system to monitor exactly what you need—be it temperature, humidity, motion, or even sound.
And let’s not forget, it’s just plain cool. Who wouldn’t want to say, “Hey, I built a remote monitoring system with a Raspberry Pi!”?
Why Raspberry Pi is the Star of the Show
Now, you might be wondering, “Why Raspberry Pi? Why not some other fancy gadget?” Great question! Here’s the deal:
Raspberry Pi is a tiny, affordable computer that packs a serious punch. It’s perfect for IoT projects because:
- It’s versatile. You can connect it to a wide range of sensors and devices.
- It’s power-efficient. So, you don’t have to worry about it draining your electricity bill.
- It has a huge community. Need help? Chances are, someone else has already solved your problem and shared it online.
Plus, it’s just fun to work with. There’s something satisfying about building something from scratch using a little board that fits in the palm of your hand.
Read also:Kaylee Hartungs Journey Through Eye Surgery A Comprehensive Guide
Setting Up Your Raspberry Pi for IoT Monitoring
Alright, let’s get our hands dirty. Before you can start monitoring stuff, you need to set up your Raspberry Pi. Here’s a quick rundown:
What You’ll Need
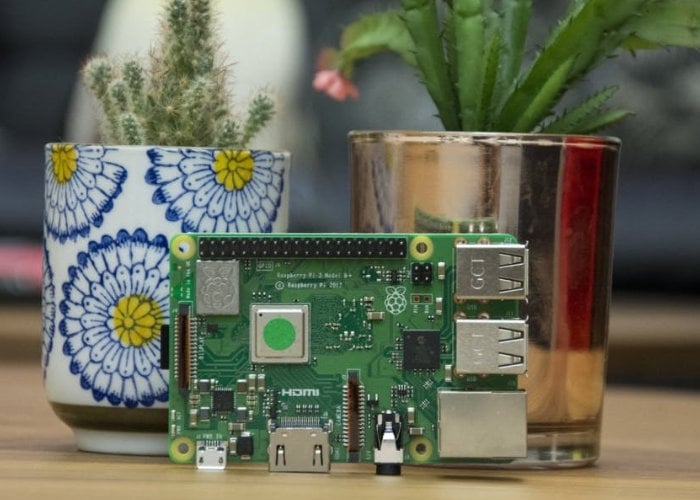
- Raspberry Pi (any model will do, but Pi 4 is recommended for better performance)
- MicroSD card (at least 16GB)
- Power supply (make sure it’s compatible with your Pi model)
- Case (optional, but highly recommended to protect your Pi)
- Wi-Fi or Ethernet connection
Once you’ve got all that, follow these steps:
- Download the Raspberry Pi OS from the official website.
- Use a tool like Balena Etcher to flash the OS onto your microSD card.
- Insert the microSD card into your Pi and power it up.
- Connect to Wi-Fi or Ethernet and update the system using the terminal.
And voila! Your Raspberry Pi is ready to rock and roll.
Choosing the Right Sensors for Your Project
Now that your Pi is set up, it’s time to choose the sensors that will do the actual monitoring. Here are a few popular options:
Temperature and Humidity Sensors
The DHT11 or DHT22 sensors are perfect for monitoring temperature and humidity. They’re easy to set up and provide accurate readings.
Water Level Sensors
If you’re monitoring water levels, a capacitive water level sensor is a great choice. It’s non-invasive and works well in various conditions.
Motion Sensors
For security applications, a PIR motion sensor can detect movement and trigger alerts when something’s amiss.
Remember, the key is to choose sensors that fit your specific needs. Don’t overcomplicate things by adding sensors you don’t need.
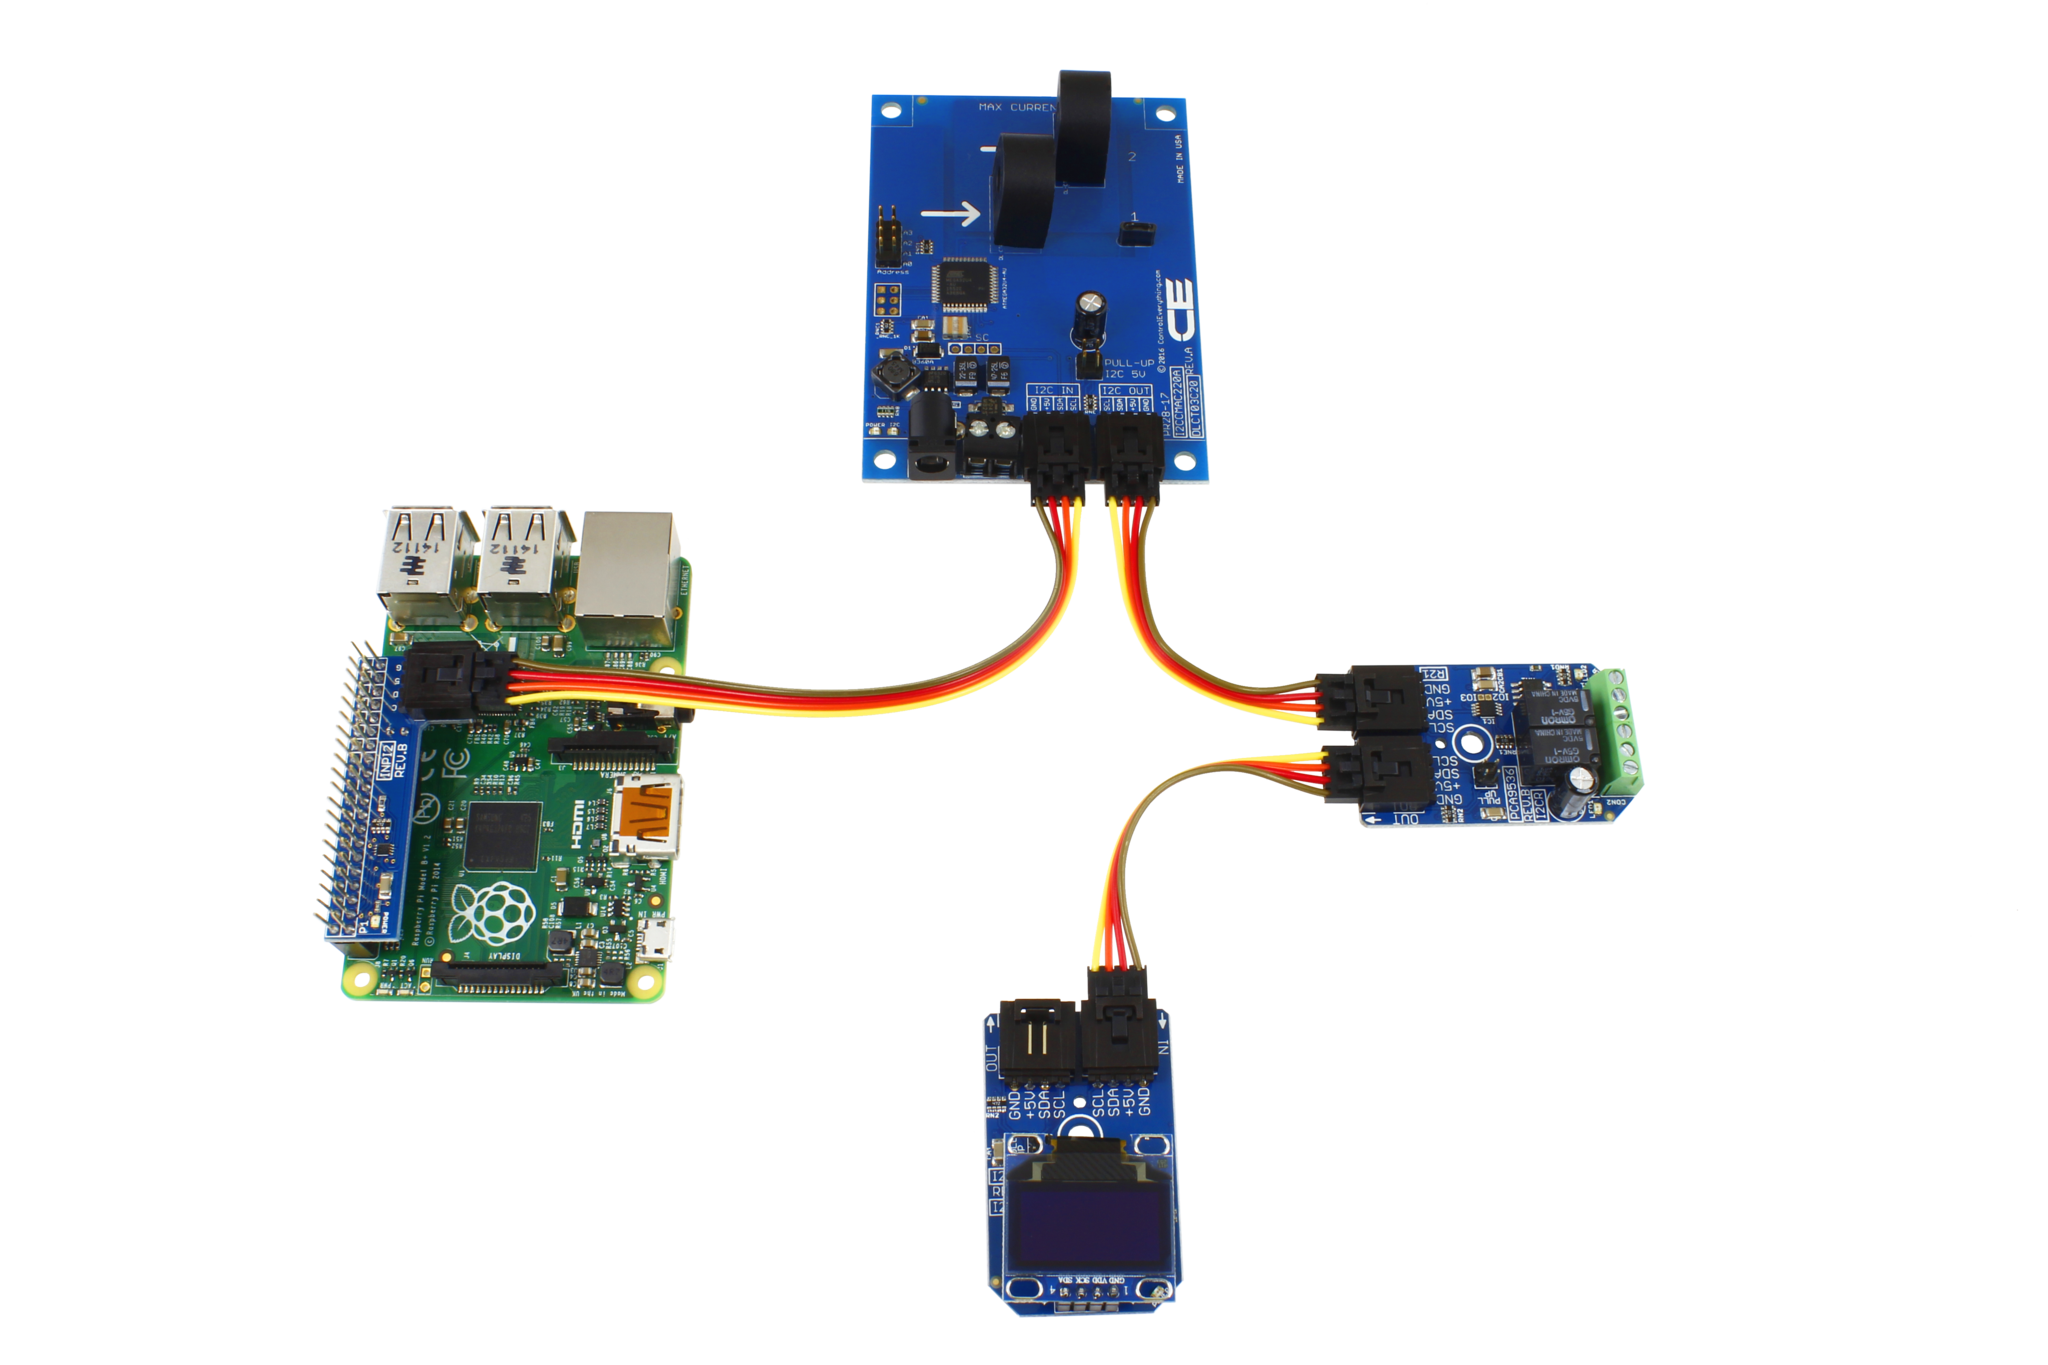
Connecting Sensors to Your Raspberry Pi
Connecting sensors to your Pi is surprisingly straightforward. Here’s how:
- Identify the pins on your Pi where you’ll connect the sensor wires.
- Use jumper wires to connect the sensor to the Pi. Make sure you connect the right pins (GND, VCC, and DATA).
- Install the necessary libraries on your Pi to communicate with the sensors.
For example, if you’re using a DHT22 sensor, you’ll need to install the Adafruit_DHT library. You can do this by running the following command in the terminal:
sudo pip3 install Adafruit_DHT
Once everything’s connected, you can start writing code to read data from the sensors.
Setting Up Remote Access
One of the coolest things about Raspberry Pi is that you can access it remotely. This means you can monitor your sensors from anywhere in the world. Here’s how:
Using SSH
SSH (Secure Shell) allows you to connect to your Pi from another computer. To enable SSH:
- Open the Raspberry Pi Configuration tool.
- Go to the Interfaces tab and enable SSH.
Now, you can connect to your Pi from another computer using an SSH client like PuTTY.
Setting Up a Web Server
Another option is to set up a web server on your Pi. This way, you can access your sensor data through a web browser. To do this:
- Install a web server like Apache or Nginx.
- Create a simple HTML page that displays your sensor data.
- Access the page by entering your Pi’s IP address in your browser.
With a web server, you can even add features like graphs and charts to visualize your data.
Writing Code to Monitor Sensors
Now comes the fun part—writing code to read data from your sensors and send it to your remote system. Here’s a basic example using Python:
import Adafruit_DHT
sensor = Adafruit_DHT.DHT22
pin = 4
humidity, temperature = Adafruit_DHT.read_retry(sensor, pin)
print("Temp: {0:0.1f} C Humidity: {1:0.1f} %".format(temperature, humidity))
This code reads data from a DHT22 sensor and prints it to the terminal. You can modify it to send the data to a web server or an external database.
Troubleshooting Common Issues
No project is without its hiccups. Here are a few common issues you might encounter and how to fix them:
Sensor Not Reading Data
If your sensor isn’t reading data, check the following:
- Make sure the sensor is properly connected to the Pi.
- Verify that the correct pins are being used.
- Ensure that the necessary libraries are installed.
SSH Not Working
If you can’t connect to your Pi via SSH:
- Double-check that SSH is enabled on your Pi.
- Make sure your Pi is connected to the internet.
- Try restarting your Pi and your router.
Remember, troubleshooting is all about patience and persistence. Keep trying until you figure it out!
Security Considerations for Remote IoT Monitoring
As awesome as remote IoT monitoring is, it’s important to keep security in mind. Here are a few tips:
- Use strong passwords for your Pi and your SSH connection.
- Enable a firewall to protect your Pi from unauthorized access.
- Regularly update your Pi’s software to patch any security vulnerabilities.
Security might not be the most exciting part of the project, but it’s crucial to protecting your system and your data.
Applications of Remote IoT Monitoring with Raspberry Pi
So, what can you actually do with remote IoT monitoring using Raspberry Pi? The possibilities are endless! Here are a few ideas:
Home Automation
Monitor and control your home’s temperature, lighting, and security systems from anywhere.
Agriculture
Keep an eye on soil moisture, temperature, and humidity levels in your greenhouse or farm.
Environmental Monitoring
Track air quality, noise levels, and other environmental factors in your neighborhood.
These are just a few examples. Get creative and think about how you can apply remote IoT monitoring to solve real-world problems.
Conclusion
Remote IoT monitoring with Raspberry Pi is a powerful tool that can help you keep an eye on things no matter where you are. From setting up your hardware and software to troubleshooting common issues, this guide has walked you through every step of the process.
Remember, the key to success is persistence and creativity. Don’t be afraid to experiment and try new things. And most importantly, have fun with it!
So, what are you waiting for? Grab your Raspberry Pi, pick your sensors, and start building your own remote monitoring system today. Don’t forget to share your experiences and projects in the comments below. Happy tinkering!
Table of Contents
- What is Remote IoT Monitoring and Why Should You Care?
- Why Raspberry Pi is the Star of the Show
- Setting Up Your Raspberry Pi for IoT Monitoring
- Choosing the Right Sensors for Your Project
- Connecting Sensors to Your Raspberry Pi
- Setting Up Remote Access
- Writing Code to Monitor Sensors
- Troubleshooting Common Issues
- Security Considerations for Remote IoT Monitoring
- Applications of Remote IoT Monitoring with Raspberry Pi

